What is a Cryptid you ask? According to *questionably* accurate Wikipedia:
Cryptid is a term used in the study of cryptozoology to refer to a creature whose existence has been suggested but not demonstrated scientifically. Belief in a cryptid's existence is typically based on anecdotal evidence and other forms of evidence insufficient to comply with normal scientific zoological standards. The term cryptid was coined by John E. Wall in 1983.[1]
In other words "Me and Billie Jean saw it in the woods! We swear!"
In spite of evidence to the contrary folks out there still think that there are things that go bump in the night, swim in lakes, and are generally creepified. Two cases that illustrate this point are the recent news articles purporting the existence of the chupabara and the poor saps who thought they had purchased a real Bigfoot.
But whether they're real or not, one fact remains: they're REALLY fun to draw.
Day 1: The Mermaid
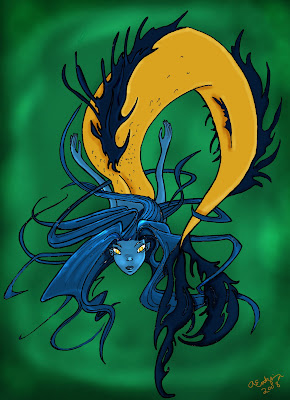
Sailors of yore thought that mermaids were beautiful half-women, half-fish that occupied the sea. Today we know that most likely they were looking at manatees (how you could confuse a manatee with a lady is beyond me, guess they were really desperate and lonely.)
Here's a tutorial on how I created my Mermaid.
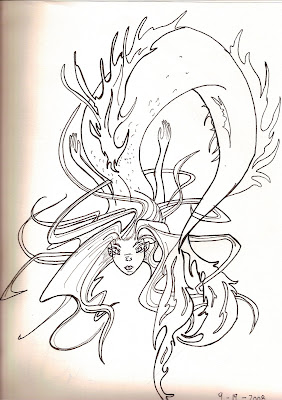
Step 1: Scan Your Drawing
I first scanned my drawing using 300 dpi. My scanner leaves much to be desired, so the image looked like this:
Step 2: Clean Up
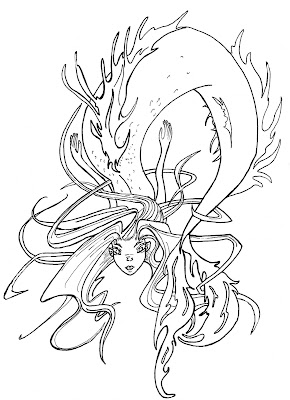
To get rid of bad scanner quality go to Image > Mode and select Grayscale.
Next, go to Image > Adjustments > Brightness/Contrast and set Contrast to +25.
Then use the eraser tool to get rid of unwanted scanner color saturation, which in this case, was on the left side of the image. I highly recommend using a Wacom Tablet as well, that way you can redraw anything you might accidentally erase. Once you've cleaned up your image, set the color back to RGB and save.
Step 3: The Real Fun Begins!
This is where the power of layers comes into play.
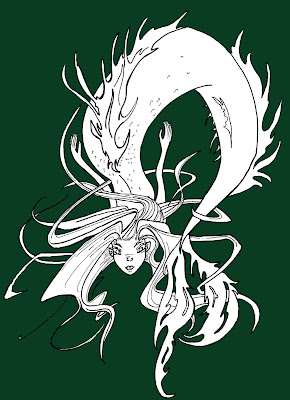
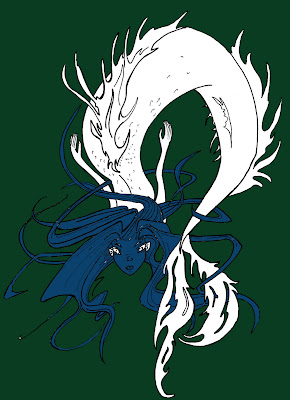
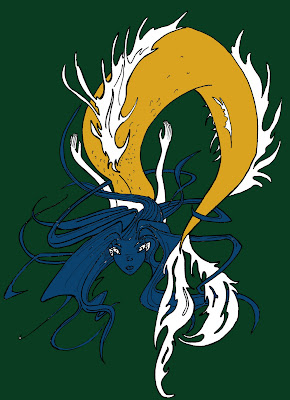
Change the layer property to multiply and add as many new as you need layers. Save the first layer (the one at the very bottom) to Background. I created five other layers total: Linework, Hair/face, Tail, Fin, and Skin. I lock the layers I'm not using to prevent misshaps.
For the Background (BG) layer, I colored it in green.
Then I used the Hair/face layer for blue.
Then the Tail layer for yellow.
Fin layer for dark blue.
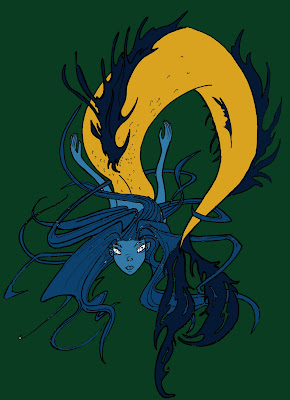
And so on.
Step 4: Special Effects
Use the dodge tool on BG layer to create cool swirly-water. Use the burn tool to create shadows on the Mermaid's body and the dodge tool to give her hair highlights.
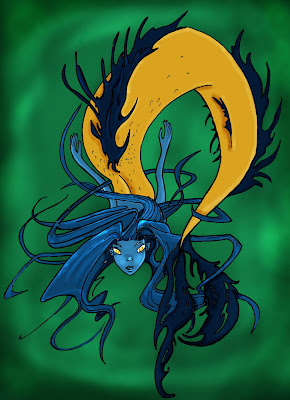
Step 5: Done

Add whatever finishing touches you want, and you're done!
For more great ideas, check out Mike Maihack's Buffalog and Kazu Kibuishi's Copper Tutorial.
Tomorrow: The Sasquatch!
No comments:
Post a Comment